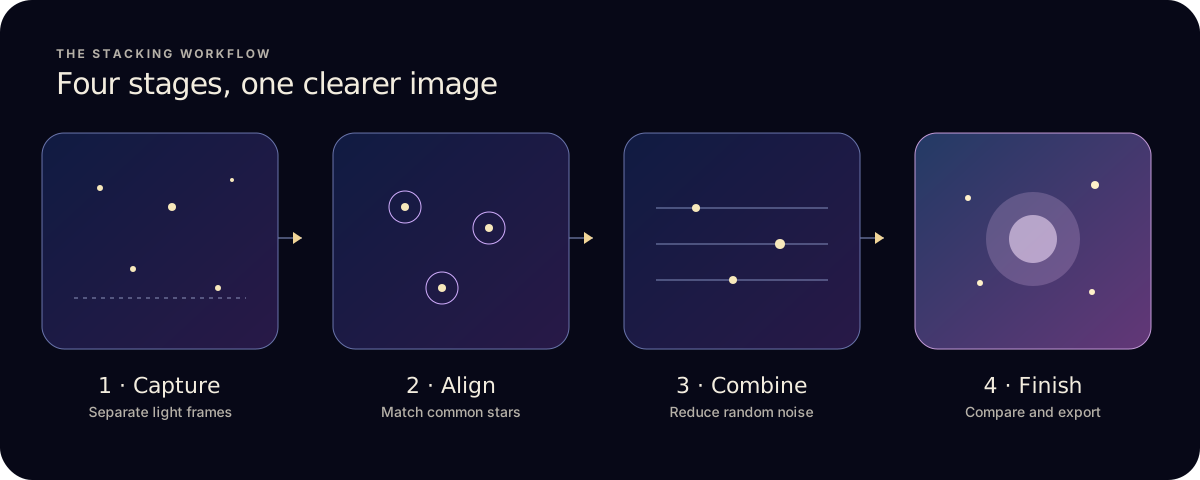
- Shoot 10 or more separate, identical exposures of one patch of sky from a steady support.
- Make sure every frame shows plenty of sharp stars. Alignment needs them.
- Add darks and flats from the same session if you have them.
- Stack with Quality, then use Auto Stretch and a light touch on the styles.
1. Set up for frames that line up
- Get steady. Use a tripod, a phone clamp or a solid surface. Even small shake between frames softens stars and makes alignment harder.
- Find dark sky. Moonlight, haze and city glow wash out faint stars. A darker site gives the app more stars to align on and less glow to remove later.
- Focus on a bright star. Tap to focus on it, or set manual focus at infinity on a camera, then check a zoomed test shot.
- Frame with stars across the image. A frame that is mostly foreground, cloud or a bright Moon leaves too few stars to align.
2. Shoot a consistent set of light frames
Light frames are your real photos of the sky. Keep every setting the same from the first frame to the last.
- Separate exposures. On iPhone, take many separate photos. Importing one Night mode photo several times adds nothing.
- Same exposure, ISO and focus for every frame. Lock them on a camera or a manual camera app.
- Short enough to keep stars round. The sky turns, so long exposures on a fixed tripod stretch stars into lines. Shorter frames and more of them stack better.
- More frames help, up to a point. Noise falls with the square root of the frame count, so 10 to 40 good frames is a strong start. Free stacks up to 10 at a time; Pro removes the limit.
- Colour or mono, not both. Every frame in a stack must be colour, or every frame greyscale. Mixing them stops the stack.
3. Shoot calibration frames (optional, Pro)
Calibration frames measure your camera’s own flaws so they can be removed before stacking. They must come from the same camera and settings as your lights. Add them in the project’s Calibration section with the Darks, Flats, Dark Flats and Bias buttons.
- Darks
- Same exposure, ISO and temperature as your lights, with the lens covered. Take 10 or more at the end of the session. They remove hot pixels and thermal noise.
- Flats
- Evenly lit frames without changing focus, for example through a white T-shirt held over the lens against a bright screen or dawn sky. They correct vignetting and dust.
- Bias
- The fastest shutter speed with the lens covered. They record the sensor’s read-out offset.
- Dark flats
- Darks at the same exposure as your flats. Use them instead of bias if your flats are long.
4. Choose a stack mode
Start with Quick to check that the set aligns. Then run Quality, which rejects satellite trails and leaves out the weakest tenth of frames. For your best data, try Max Detail and compare. The stack modes guide explains each one in detail.
Untick any frame you know is bad before you stack. A cancelled or failed stack doesn’t use one of your free stacks.
5. Finish the stack
A raw stack looks dark and flat, because the faint signal sits near black. Finishing brings it into view.
- Auto Stretch first. It sets the levels automatically to lift faint detail out of the dark background.
- Remove gradients. Raise gradient removal if one side of the sky is brighter from city glow or moonlight.
- Add local contrast and vibrance gently. Local contrast reveals structure in the Milky Way and nebulae; vibrance boosts faint colour without pushing noise.
- Try a style. Natural, Nebula Pop, Cosmic Drama or Scientific, then use the strength slider. Less is usually more.
- Compare. Use before-and-after to check you haven’t made the background noisy or the stars bloated.
6. Save and export
- Sharing
- Save to Photos, or export JPG or PNG.
- Editing elsewhere
- Export TIFF, or FITS for astronomy software. 16-bit export is part of Pro.
Know the limits
Stacking needs stars, so the Moon, planets and the Sun can’t be stacked yet. Planet Lab for those is coming. Star-trail images aren’t possible either, because every stack is aligned on the stars. Colour FITS from one-shot-colour astronomy cameras aren’t debayered yet.
Stack stopped with an error? Read how to fix “Not Enough Usable Stars”, or see support.